
Are you a freelancer or employee, perhaps a journalist, a communicator or a marketer? You may be out at events and need to cover it with reportage photos or you have been asked to do employee portraits or take stillife and product photos. You may have been to the photo shop and bought a camera and a small flash kit, but so what?
At Theilgaard Academy, we are experts in dressing as a photographer who is NOT a trained photographer, but still need to take pictures and maybe make video in one for web and SoMe, in connection with internal communication, sales and marketing and much more.
When we go out to companies and organizations to teach, and at the courses we hold in our studio at Frederiksborggade mit in Copenhagen, we hear about all the challenges that are typical when you have to deliver pictures without really being dressed for it.
So here are a number of good tips and tricks we have collected together, for your inspiration and further development on the way to make good pictures without stress and nervousness about whether it is now “good enough”.

1. Use side lights - not just front lights
Light shapes objects and people and creates visual interest in your composition. So whether you're using a softbox or direct sunshine, see what happens when you turn your subject and your light source relative to each other.
2. Avoid harsh light in the middle of the day
Most experienced photographers shoot preferably in the outer hours when the sun is low. White icicles and cheeks as well as dark eye sockets are usually the result when photographing in direct sun in the middle of the day.
There are methods to overcome these problems, but it requires experience and some technique. If you're a beginner, jerk inside, enter a gate, or shoot in the outer hours for a start. You can also read our tips for shooting photos in daylight here.
3. Keep track of your main light source
A typical mistake many, even experienced photographers, make is too many light sources and not having a handle on what is the main light source. If you can't define the main light source, you need to find out quickly, because we only have one. This is where we start, and only rarely do we need to supplement up with more.
When shooting in a studio, always start with one lamp and add more only when you have full control of the first light. Outdoors, you should pay attention to where most light comes from and how it shapes the subject.
4. The light creates the mood
The same motif can look completely different and radiate vastly different moods, depending on the lighting.
When you start to be able to work in control with the light, a world of possibilities opens up. Photograph the same subject morning, noon and evening and see the difference. Mastering light is one of the most exciting but also hardest disciplines in photography. But if you want to get the best possible start into the world of light, and learn all the most important and basic lit techniques from scratch, join us for our popular 3-day workshop “The Magic of Light”.
5. Beware of telephony
When you use a long focal length, zoom in, or use what photographers call telephoto, you change the perspective in the image. This is not in itself a problem, but can be very difficult to manage for the inexperienced photographer.
The problem is that the background is drawn out in the image, and in portrait photos, for example, the background can fill up a lot and easily become distracting. As a photographer, we prefer to use our feet when we need to get closer.
6. Create focus
Focus is not just about sharpness - but also about what the eye sees first. Where do we look first?
Remember that what catches our eye are high contrast lines, the brightest areas, colors, which stand out a lot, and faces. And not necessarily in that order.
When you look at your scene, think about what invokes the most attention. You can do the same when reviewing the images on the computer.
Becoming aware of how to create calm and focus is one of the most important steps towards becoming a better photographer.
7th. Think about the background
A bad and messy background has ruined more pictures than a bad subject. The background in a portrait or a style life can help set a mood or show where we are, but it should only be a hint.
A messy background can ruin an otherwise good picture. You can use the background in two ways:
1. Either you integrate it with the subject so that you create a total composition (for example, a person in full figure leaning on a bookshelf), or we have very little of it.
2. You can also use the firebox to help you. For example, if we photograph with a wide angle, we change the perspective so that the background appears farther away and therefore smaller in relation to the main subject.
The same we can do with what we call a normal optic, which sees in the same way as our eyes, where with a bright lens we can create a blur of the background.
8. Take time and prepare
Be sure to make time. A typical mistake is to underestimate how long it takes to make a good picture and forget how much preparation it takes. It is common to be reluctant and perhaps a little embarrassed when it comes to demanding the time it takes. Both in front of bosses, colleagues and perhaps a portrait person.
Think about how much time you need and be realistic. Prepare thoroughly. And remember, you can't take pictures while you're doing anything else. Photographing and making good pictures requires time and immersion, whether you have 5 minutes or a day.
9. Take control as a photographer
Many photographers - especially newbies - can feel insecure when they have to take a picture for an organization or company. Remember that you are the photographer and it is your job to set the agenda. We have taught countless “non-photographers” and one of their biggest challenges is always that they don't feel they are good enough to set the agenda and take the space required to make good pictures.
Here it is important that you sit down and reflect on and define what expectations we have in our organization. Can I lift that expectation, and if not -- then what?
Be honest with yourself and those you work with. Both about your strengths and weaknesses. Have a clear expectation balance and an action plan, and find out which initiatives, such as courses and continuing education, are helping you achieve your goals.
Want to take your skills to the next level? Join one of our workshops and read more tips and tricks below.

In doubt?
If you have any doubts about which photography education or course is relevant for you, you are always welcome to contact Helga or Michael by phone or email.
Clarifying conversation
You can also book a clarifying conversation here if you are considering a longer course. It is free and non-binding and you get the opportunity to get a pair of Denmark's sharpest eyes on your photographs and your photographic practice, regardless of your level.
Sign up for clarifying conversation here >
Theilgaard Academy offers photography courses at all levels, both for amateur photographers, professionals or those who work with communication, content creation and SoMe and would like to have new skills in portrait photography and photography in general.
If you want to be taught by two of Denmark's best photographers, take part in one of our popular photo workshops at and around our beautiful photography school in the middle of Copenhagen.


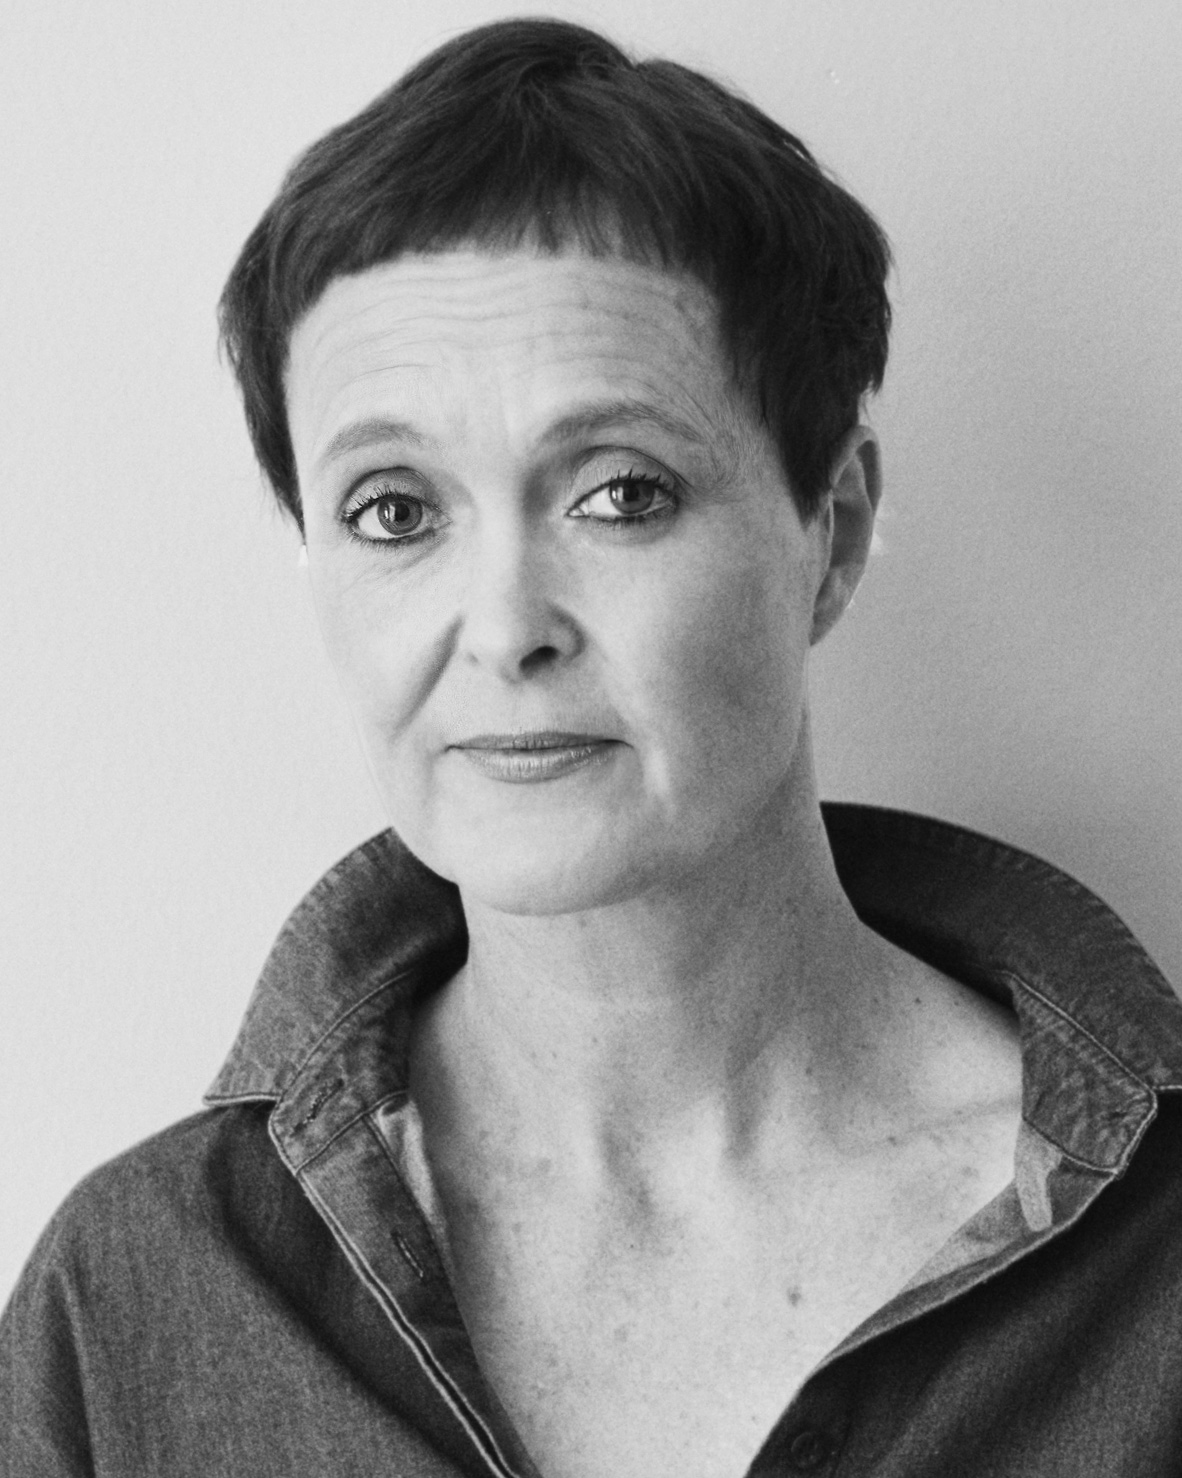
I’m a visual artist and photographer, and over the past 20 years I’ve created a number of significant nationwide exhibitions and book publications — most recently the exhibitions I’m Here Now and The Rootless – We Who Remain.
I also work with communicating and teaching art and photography through workshops and talks, and I’ve helped hundreds of professional, independent and emerging photographers define their photographic language and make their images truly stand out.
I trained under Rigmor Mydtskov, Photographer to Her Majesty the Queen of Denmark, as well as at Fatamorgana – The Danish School of Art Photography, and the European Film College.
If you have any questions, you’re welcome to contact me at
or by phone on +45 26 84 40 43.

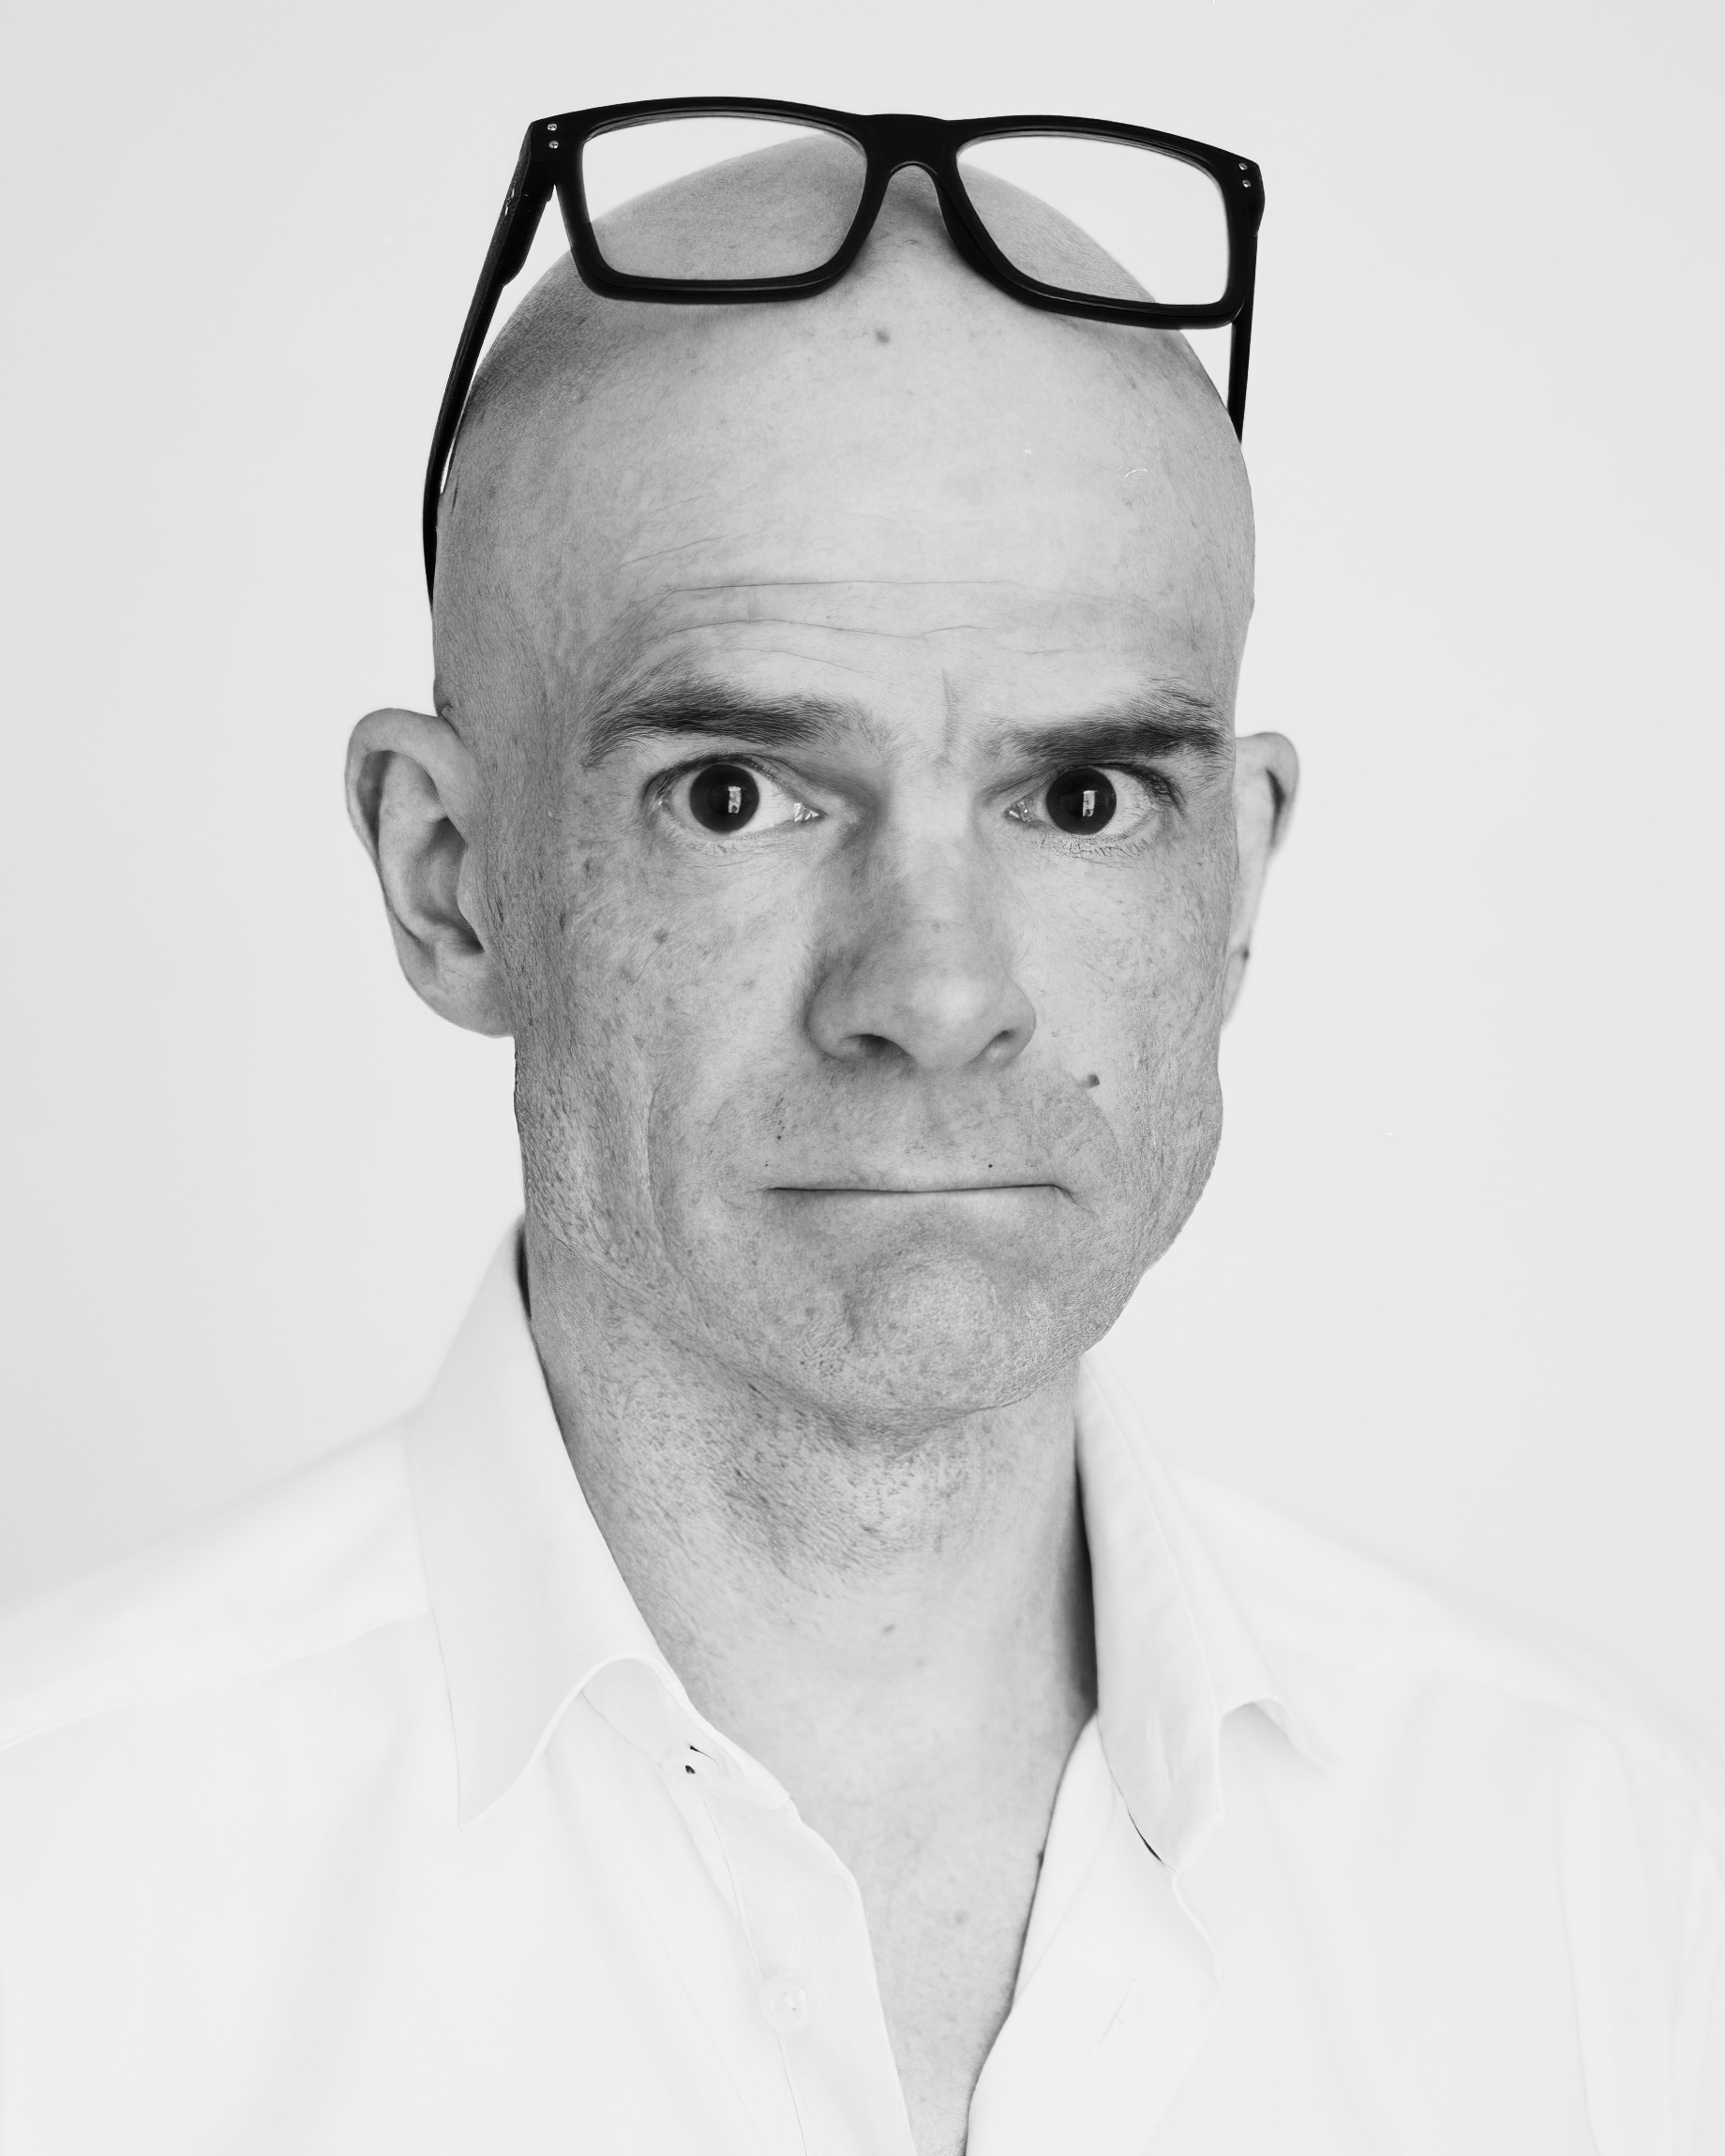
I’m a photographer and image retoucher, and an Adobe Certified Expert in Photoshop. I trained as a photojournalist and have worked as a photographer for more than 20 years for magazines, publishers and companies.
Alongside this, I have specialised in post-production and portrait retouching, as well as finishing fine art prints for museums and exhibitions. I also work on my own artistic projects.
Over the years, I’ve taught at institutions including Fatamorgana – The Danish School of Art Photography, and the Photography Programme under KTS/Next.
If you have any questions, you’re welcome to contact me at michael@theilgaardacademy.com or by phone on +45 31 79 94 79.