

As photographers, we depend on the light. Without light no picture. The light is decisive for our composition and the mood of our image. Natural light is that which comes from the Sun, either directly or indirectly such as when it is cloudy or if sunlight is reflected from an area on our subject.
Sometimes, if we're lucky, we'll come out somewhere where the natural light is just perfect for the picture we'd like to make. But you have probably also often faced a situation where it has been difficult to lay light because:
There is too much light or too little light. The light is coming from the wrong direction. The light is soft and “dull” and does not give any shape to the face of our model. The sunlight is high and casts ugly shadows down the face of the person we are going to make a portrait of.
Getting the right lighting on an outdoor portrait is not that easy at all. But if you want a little help to get better results, here we have collected some of our best tips and tricks for you.

When we hold workshops and photography courses in the light at Theilgaard Academy there is one overarching mistake we see many photographers make all the time. They are frustrated with the light and do not have the technique to change the conditions but still try to work against the light there is, or think “I can change that in Photoshop”. It's never going to be good.
Either you use the light as it is where you are, and go for an expression that comes naturally.
Or you spend time changing the nature and direction of the light with up mirrors, flags, and diffusion filters and you make sure to use buildings and structures to create delineation and direction on the light.
The latter requires a little bit of equipment and a lot of knowledge. The first requires determination. Think of a photographer like Ole Christiansen and how he dry-uses direct, bright sunlight to create striking, graphic images.
How to Shape the Daylight for the Perfect Light Laying
But fortunately, you have plenty of options to shape the daylight to better suit the image you are trying to create. So here's what you can do if:
The light is flat and “dull”
Move your portrait model into a gate or into behind a door opening and position him or her so that the light falls from the side while you yourself photograph from the front. By advancing the model further into the dark, you can regulate the contrast between light and shadow side.
The light is too harsh
Move the model in shadow or create shadow with a flag and use a reflector to shed light back on your model. You can also put a piece of Lee diffusion filter between the sun and your model.
The sun is too high
Shoot in the backlight. Optionally, use a reflector screen to cast formative light back onto the model. You can combine it with a flag over the head of your model. And, of course, remember to photograph in the outer hours if you can, that is, when the sun is low. It always gives the grandma opportunities to make many different types of images.
Other tips for portrait photography with natural light
Use Sunseeker or another app to predict the course and location of the sun. If you combine it with Google Maps and the weather forecast, you can sit at home and quietly plan your photography and avoid any unfortunate surprises when shooting and photographing at your location.
Flash daylight with speedlights or flash heads
If you want complete control over the light, even outdoors and in all situations, bring a flash. If you are using a Speedlight, make sure it can be mounted on a tripod. Otherwise, a battery-powered monohead flash, such as from Godox or Profoto, is the optimal choice if you often shoot portraits outdoors.


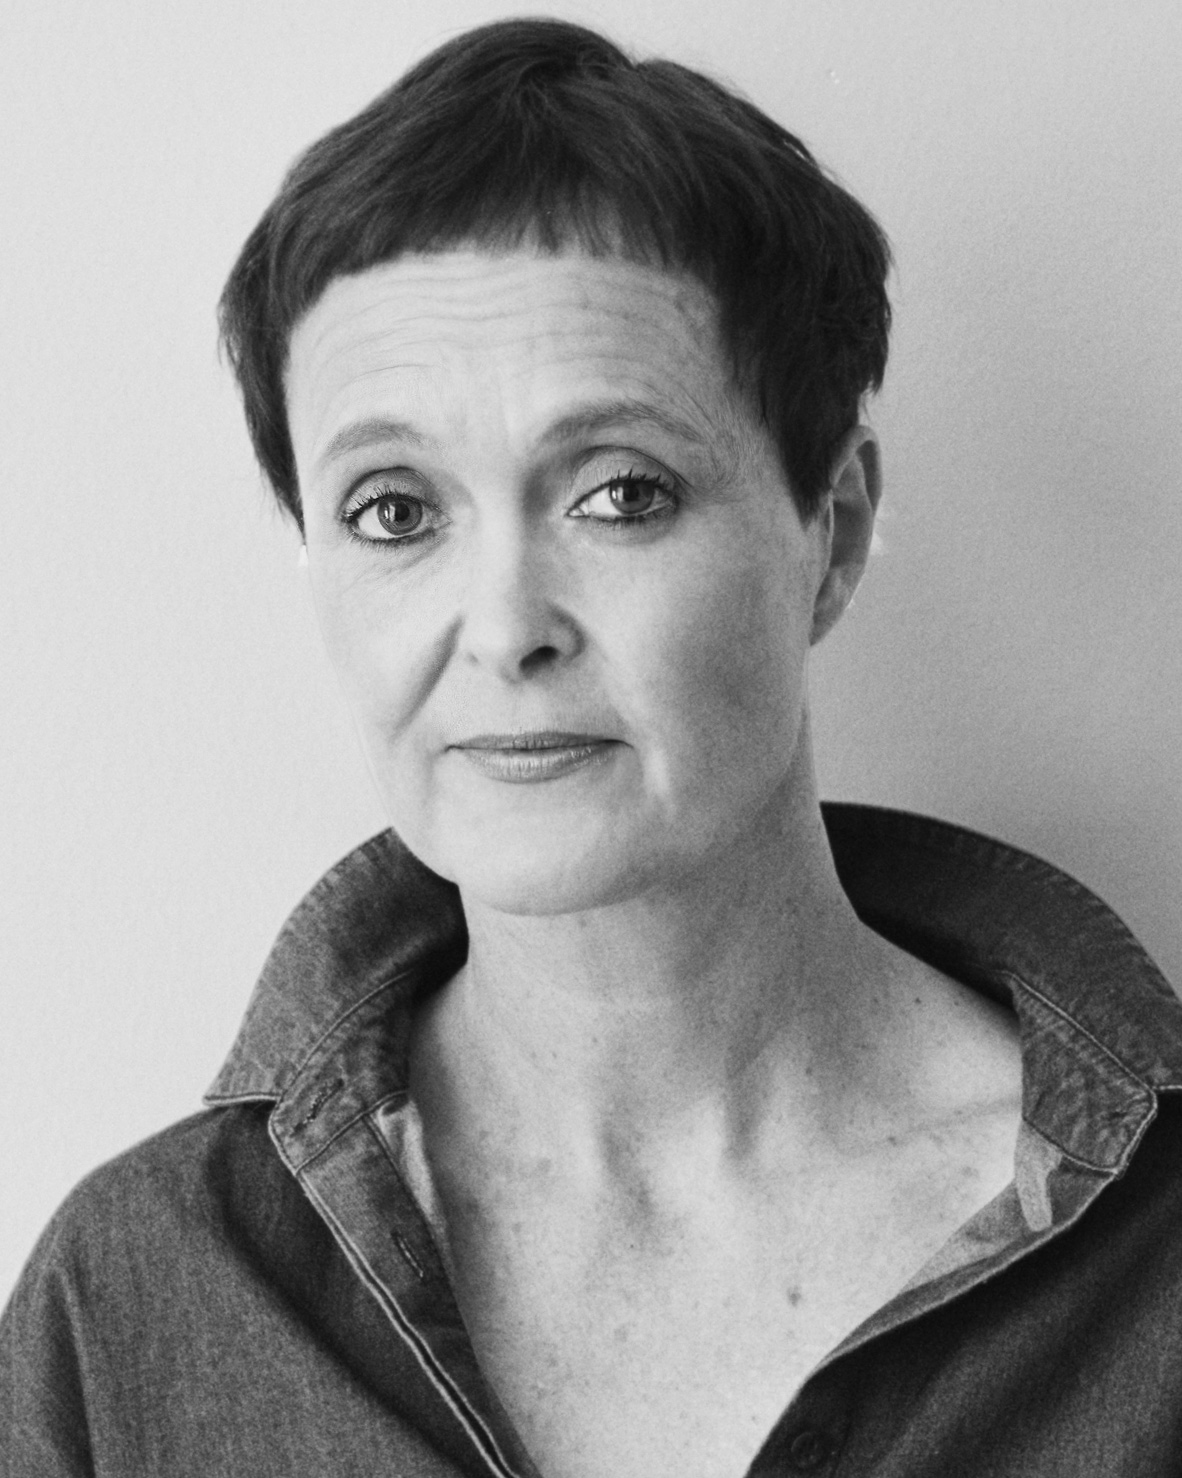
I’m a visual artist and photographer, and over the past 20 years I’ve created a number of significant nationwide exhibitions and book publications — most recently the exhibitions I’m Here Now and The Rootless – We Who Remain.
I also work with communicating and teaching art and photography through workshops and talks, and I’ve helped hundreds of professional, independent and emerging photographers define their photographic language and make their images truly stand out.
I trained under Rigmor Mydtskov, Photographer to Her Majesty the Queen of Denmark, as well as at Fatamorgana – The Danish School of Art Photography, and the European Film College.
If you have any questions, you’re welcome to contact me at
or by phone on +45 26 84 40 43.
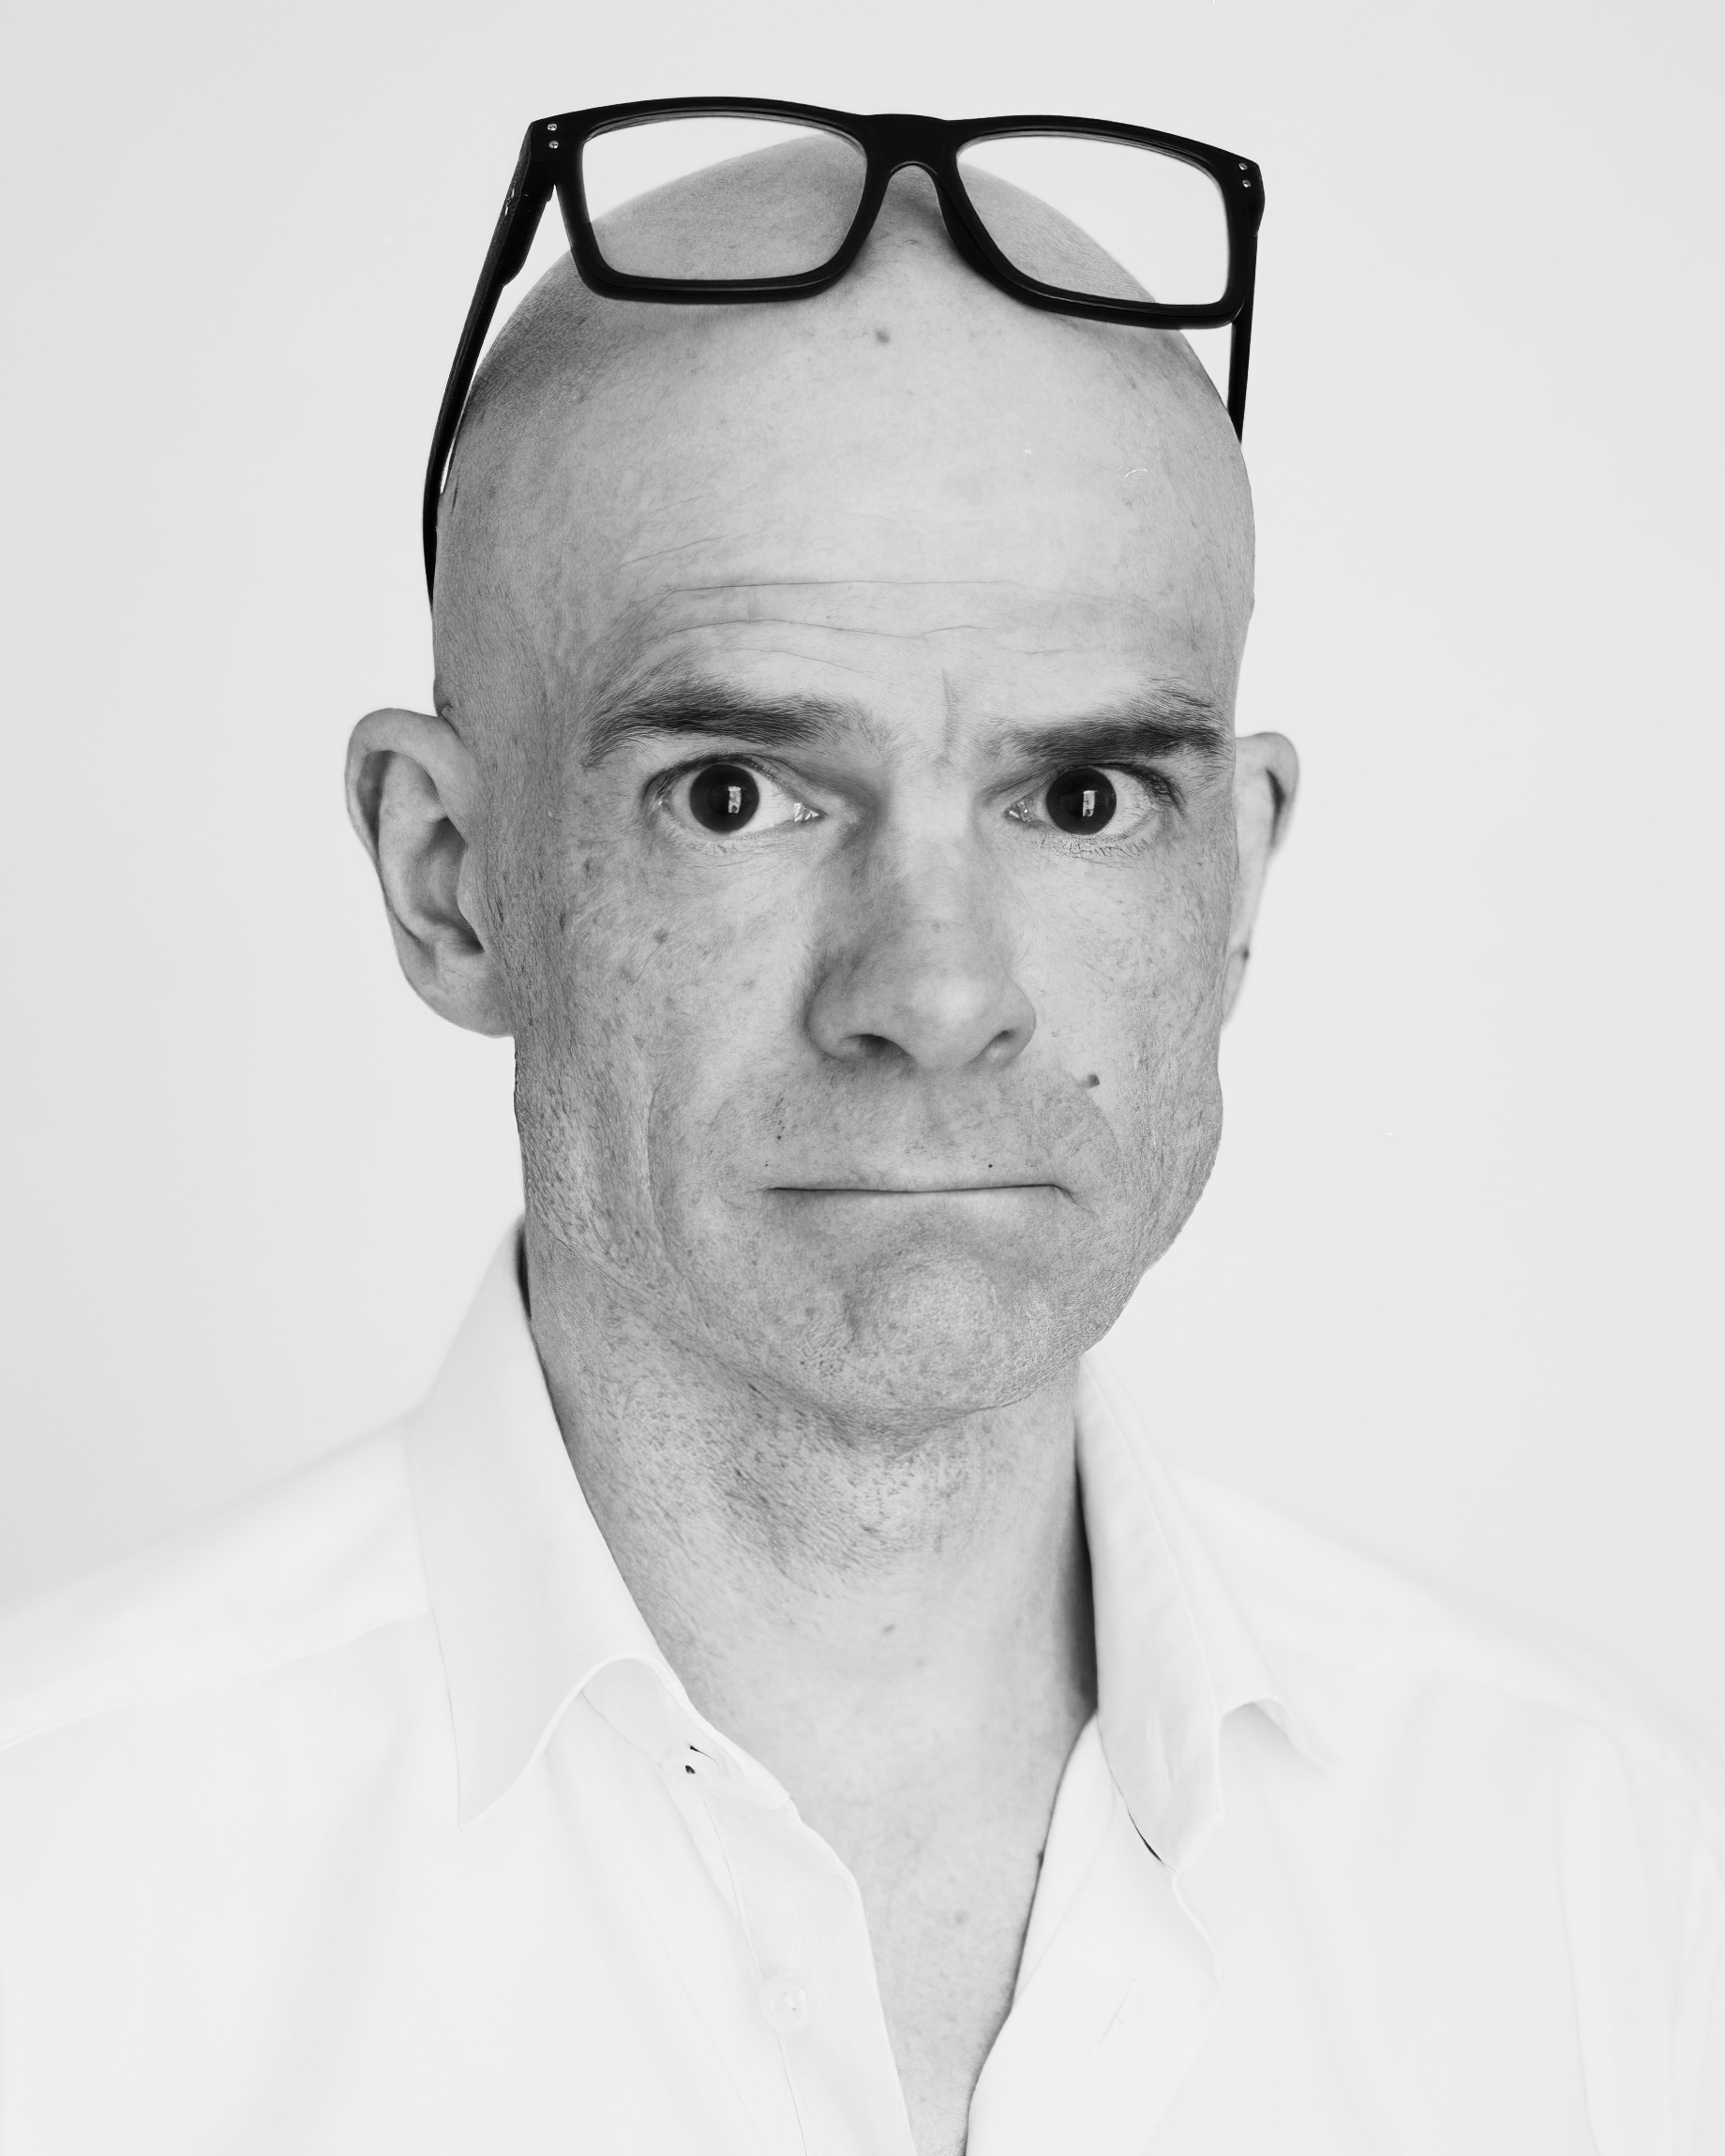
I’m a photographer and image retoucher, and an Adobe Certified Expert in Photoshop. I trained as a photojournalist and have worked as a photographer for more than 20 years for magazines, publishers and companies.
Alongside this, I have specialised in post-production and portrait retouching, as well as finishing fine art prints for museums and exhibitions. I also work on my own artistic projects.
Over the years, I’ve taught at institutions including Fatamorgana – The Danish School of Art Photography, and the Photography Programme under KTS/Next.
If you have any questions, you’re welcome to contact me at michael@theilgaardacademy.com or by phone on +45 31 79 94 79.
